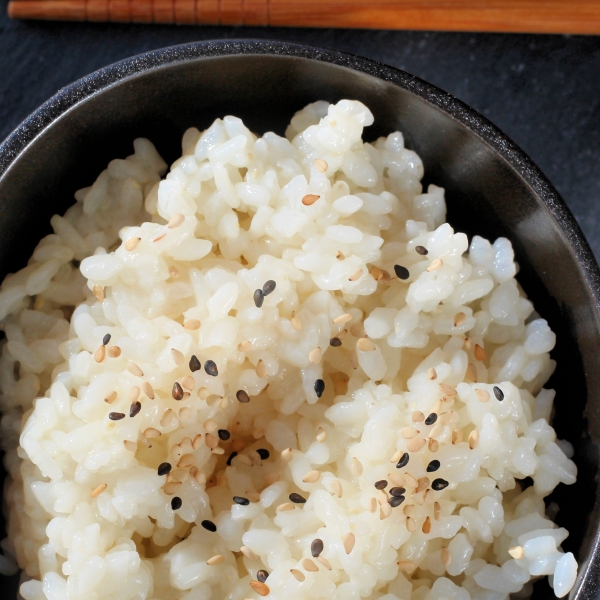
Sushi rice made in your Instant Pot® ensures perfectly cooked grains with this simple method. I tested 4 different methods before deciding this was the best. Using the Manual function instead of the Rice setting gives the rice a tender bite, separated grains, yet still sticky to make compact sushi rolls. This recipe yields enough rice for 3 standard sushi rolls.
Preparation Time
20 mins
Cooking Time
15 mins
Total Time
35 mins
Calories
146 Calories
Recipe Instructions
Step 1
Place rice in the insert of a multi-functional pressure cooker (such as Instant Pot®). Add enough water to cover and rinse rice, mixing it in a circular motion. Strain through a sieve. Repeat until water comes out clear, about 5 rinses total. Spread drained rice on a clean cloth to dry out for 10 to 15 minutes.
Step 2
Clean kombu gently with a damp towel but do not remove the white powder, which is important for the umami flavor.
Step 3
Break off a small piece of the kombu and put into a small saucepan. Add the rest of the kombu to the Instant Pot®. Add rice and 1 1/4 cups water. Close and lock the lid. Select high pressure according to manufacturer's instructions; set timer for 2 minutes. Allow 10 to 15 minutes for pressure to build.
Step 4
Add rice wine, hon-mirin, sugar, and sea salt to the saucepan. Heat over low heat until sugar and salt have dissolved; do not boil.
Step 5
Release pressure using the natural-release method according to manufacturer's instructions, about 8 minutes. Release any additional pressure carefully using the quick-release method. Unlock and remove the lid.
Step 6
Gently scrape rice into a glass or ceramic bowl using a rice paddle; remove and discard kombu. Remove and discard the smaller kombo piece from the vinegar mixture. Sprinkle vinegar mixture over rice and cut it into the rice with the rice paddle. Stir in vinegar mixture until well incorporated and no lumps of rice remain. Allow to cool to room temperature. You can use a piece of cardboard to fan the rice and speed up cooling.